“Bucket and Chuck It”. Westcountry Sail: Merchant Shipping 1840-1960 (1971): The helmsman stands on a grating with his back against two teak rubbing boards on the wheel shelter. To port, the steel shelter houses the lavatory (of the bucket and chuck it variety).
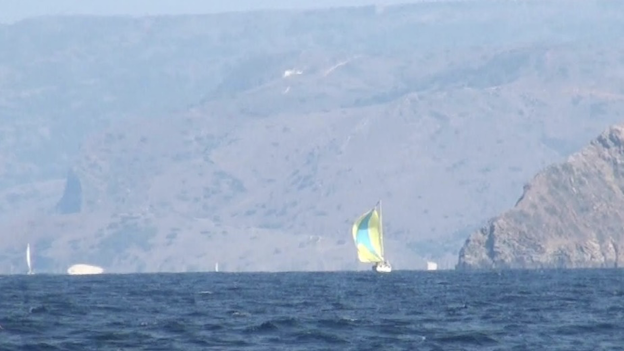
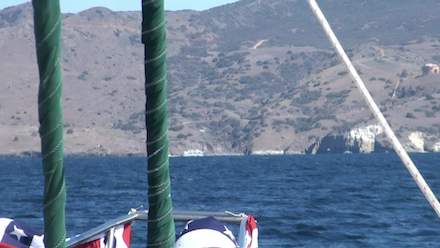
Our family took advantage of schedules that finally lined up so Peggy and I could get out to the Isthmus on Catalina Island and have our daughter and husband, and our son and fiancée, join us for a week of sun and fun. We left Santa Barbara on July 5th, stopped overnight at Channel Islands Harbor and arrived at the Isthmus the following afternoon. Through a miracle of scheduling and luck we arrived just as the Catalina Express from San Pedro carrying the kids arrived. In this picture below, that’s the Catalina Express arriving at the Isthmus as seen as we approach from a few miles off.
While gathered in the saloon one evening playing a board game our son leaned over to me and asked me “Do you smell something like urine?”. I did and I dreaded something bad but didn’t want to immediately face the consequences of finding a leak in our toilet system that would likely come with a major interruption in what up-to-now had been a stress-free and fun get-together. But, this is boating. After the game came to a reasonable stopping point we packed up the game and I went over to the bilge area where the toilet hoses, macerator, overboard thru-hull valve, and deck pumpout hose are located. The smell was stronger there so I donned rubber gloves and felt around to locate the source of a leak. With my crew standing by for instructions, holding a flashlight, and offering ideas of what to do, I found some cool liquid on the macerator. Before going on let me explain my toilet usage guideline with six adults on board for a week and a 27 gallon holding tank: With nearby access to full bathroom facilities on-shore, just a short dinghy ride away, we use the on-board facility for liquid deposits only, unless of course there is an emergency or midnight need.
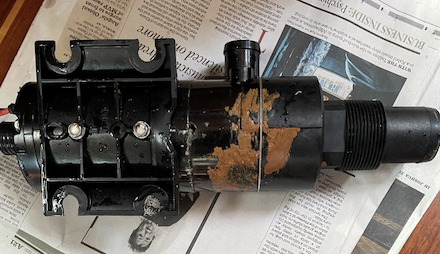
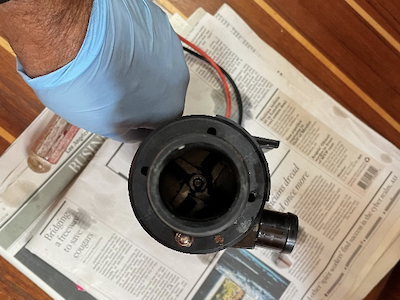
The macerator was not only leaking from the input end but had some brown stains on it from other leakage. Also, three of the four screws holding the input end of the macerator in place were loose and pulled out as they were totally corroded through! This was the second macerator installed in our boat since we bought it and both of them had the same problem with corroded screws.
My plan was to first stop the leak, or at least keep it from going into the bilge so as to get through the night. In the morning we could then take the boat over to the main dock and use the pump-out facility to empty the holding tank and drain the hoses, which would essentially stop the leakage. The only way to dump our holding tank is with the macerator and I did not want to run it at all with its leaks, so taking the boat off-shore to dump the holding tank was not an option. We could use the on-shore bathroom facilities for the remainder of our stay.
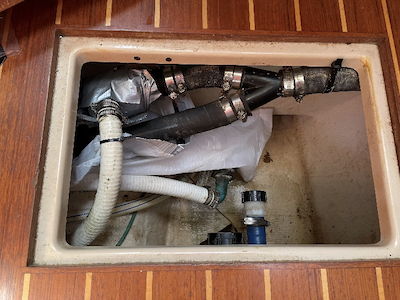
Our particular installation does not have a shutoff valve, or Y-valve, but uses a Y-hose fitting to route the holding tank waste to the macerator and the deck pump-out. It’s simple but in this situation we couldn’t block the holding tank waste from going to the macerator. I believe this accelerated the corrosion problem with the macerator screws since the holding tank liquid was always in the macerator even if not running. My only choice to deal with this mess until we got home was to try and catch the leaking liquid in plastic bags to be disposed of as necessary. So, with plenty of gloves and plastic bags available, I connected the first bag to the leaky macerator. Here’s what it looked like with a bag connected using duct tape and nylon ty-wraps.
This got us through the night at which time I put a new bag on and took the first bag ashore to empty into a toilet. It held about a pint of liquid. While on shore I learned that the pump-out station was broken and they were not sure when it would be repaired so it looked like we’d have to handle the leak with plastic bags for a couple of days.
Back at the boat we were faced with getting rid of the remaining smell coming from the bilge that had collected the initial leakage from the macerator. Fortunately the level in the bilge was not sufficient to trigger the automatic bilge pump but I did want to get that liquid out. So, after cleaning the bilge area below the macerator with liquid cleaner and paper towels (the leakage had flowed down to the low point of the bilge) we began pumping out the bilge using a manual hand pump into an empty six gallon jerry can. We got a couple of gallons in each of two jerry cans so they’d be easy to carry ashore and dump in the toilet there. I found some hydrogen peroxide at the General Store and flushed out the jerry cans.
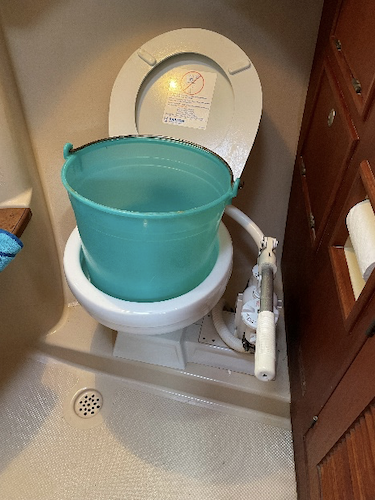
Catching the leakage in plastic bags and using the on-shore facilities for a couple of days worked out fine until the kids left and Peggy and I got underway to sail home. While underway we did adopt the time proven and reliable method of “Bucket it and Chuck it” as we made the non-stop 15 hour run to Santa Barbara.
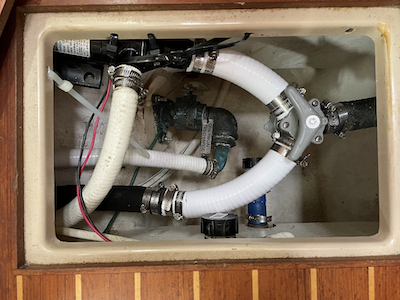
Once home we pumped out the holding tank and hoses, rinsed it all out a couple of times with water, and dug into the mess of replacing the macerator. In the process of installing a new macerator – oh, not the same brand this time – I had to install some new hose and add a Y-valve that can isolate the macerator from the holding tank. The following pictures show the failed macerator side view and an end view that highlights the three empty bolt holes that corroded loose, and the completed new installation. The macerator is in the upper left corner of the photo.
